Blown-in insulation is a great option for homeowners who live in older homes that are under-insulated and are looking for a solution to create a comfier home while saving on energy bills. Today’s building codes require a minimum amount of insulation in walls and attics, which is why it’s important to understand what blown-in insulation is made of and how it works.
If you want to know more about this type of insulation, you’ll find that it’s considered safe to touch, free of harmful chemicals, and offers a safer option than many others. Before you commit, make sure to stay informed about how it’s installed and why it’s an ideal choice for lowering energy costs in your home.
What Is Blown-In Insulation Made Of?
Blown-in insulation is a term used to describe multiple types of insulation that consists of tiny pieces of material, often compared to confetti, which are literally blown into walls and attics through a long hose. This type of insulation comes in four main forms: mineral wool, rock wool, fiberglass, and cellulose, each tailored to specific needs and preferences.
Types of Blown-In Insulation
Blown-in insulation comes in various types, and with a little research, you’ll find it’s a general term covering newer products like rockwool and timber fiber alongside fiberglass and cellulose, the two most common options. These materials have unique features and properties, but many resources may not distinguish between them, often splitting the difference when explaining their insulating capabilities. Understanding the difference helps ensure you choose the best option for your needs.
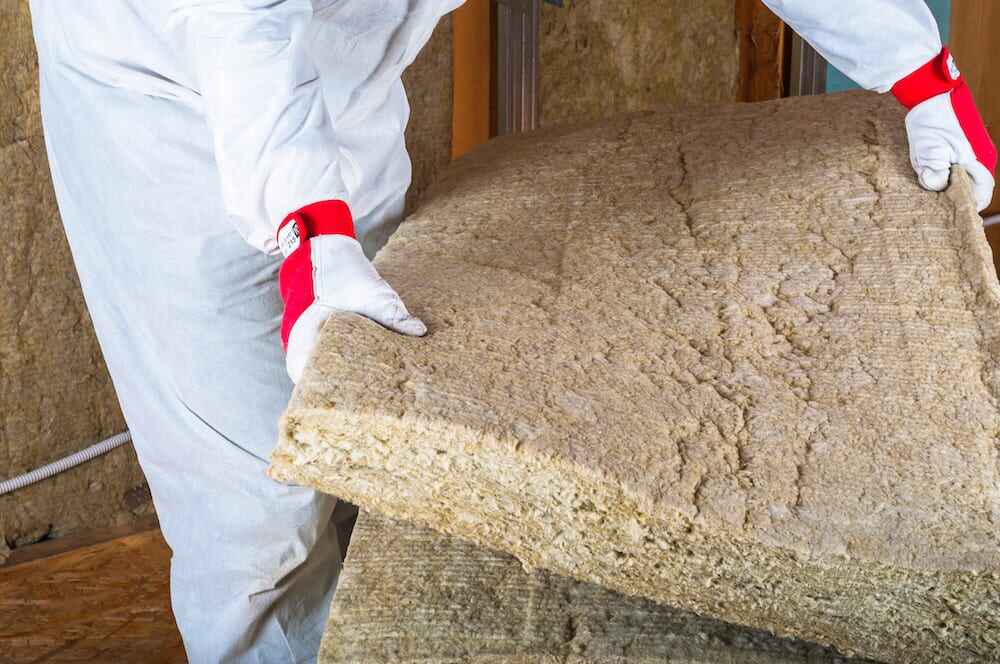
Mineral Wool
Mineral wool insulation is a loose-fill option made from recycled materials like blast furnace slag or fine-grain rock. It can be combined with a liquid for spraying onto open walls or blowing into wall cavities. While it is effective, there are health hazards if the fibers are inhaled, so it’s essential that installers or anyone working with it clean every last bit after the job is complete to ensure safety.
Rock Wool
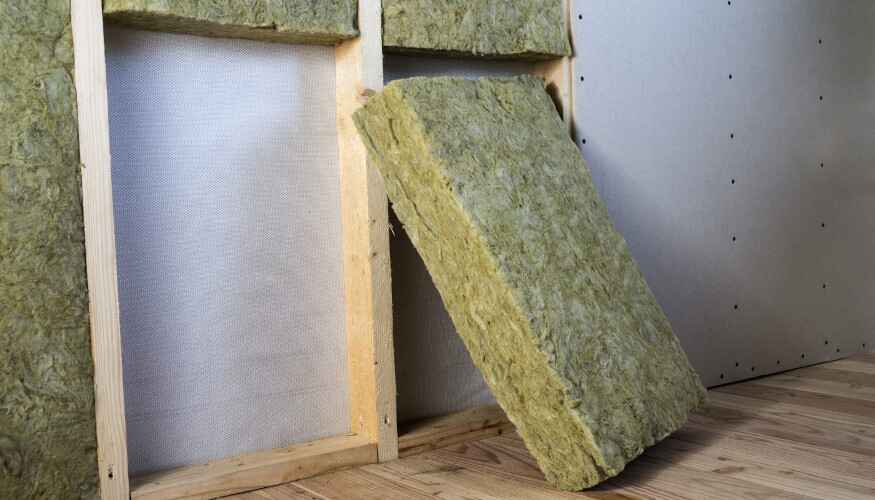
Rock wool insulation, also known as a type of mineral wool, is a popular blow-in insulation option. It is made from blast furnace slag, a byproduct of firing iron and iron ore, which is heated, combined with minerals, and spun into an airy product that resembles the texture of raw sheep’s wool. This material is denser than cellulose, making it effective for filling wall cavities where it can settle into place with the help of gravity. Due to its heavier weight, it may take installers more time and effort to move the material, but it provides excellent thermal value, such as R-3.3 per inch, and one bag can cover 60 square feet at R-19.
One of the standout features of rock wool is its impressive fire resistance, making it ideal for areas requiring fire codes compliance, like connecting walls in a house, an attached garage, or even the floor of a garage leading to a FROG room (finished room over garage). However, it can sometimes settle, causing small pockets of air in walls, which may slightly reduce its efficiency. Its ability to resist fire and offer strong thermal performance makes it a dependable choice for both residential and commercial use.
Fiberglass Insulation
Fiberglass insulation is almost wholly comprised of plastic and glass, with the contents made up of fine fibers. It comes in various forms, including blown-in, blanket, and batt options. The insulation typically contains chemical additives such as borates or boric acid, usually less than 2%, which are used as flame-retardants to enhance safety. This material is widely appreciated for its ability to help with sound control and maintain strong R-values, making it suitable for both attics and wall spaces.
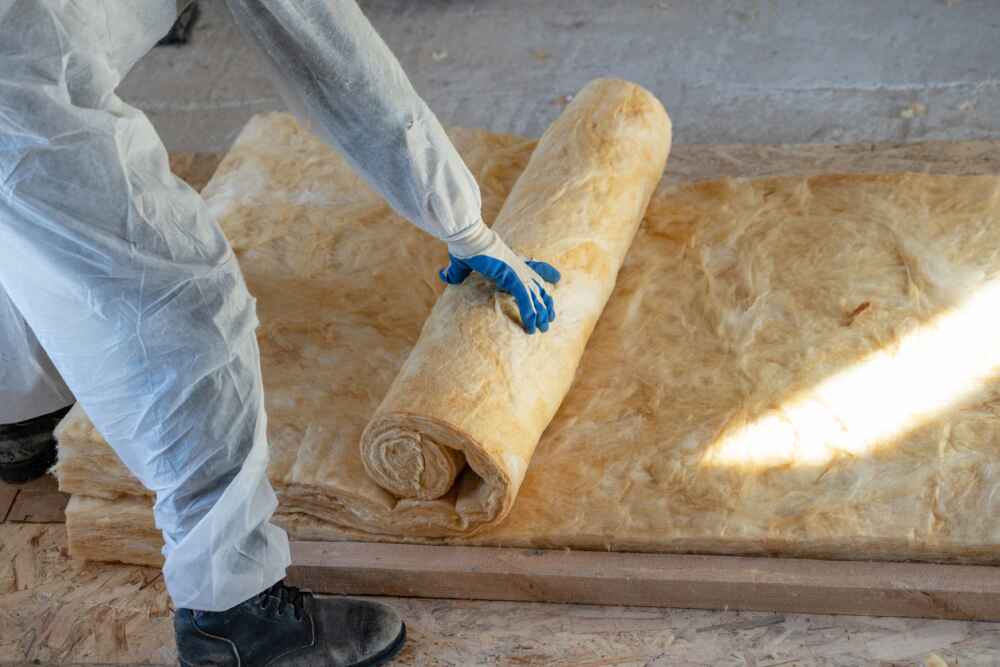
Fiberglass insulation is known for its light-as-air texture, created when it is manufactured, heated, and spun into thin, loose-fill fibers. It offers an average R-2.5 thermal value per inch, with a thickness of 7.5 inches required to match the insulating capacity of R-19 batts. A single bag of loose-fill fiberglass can cover 106.6 square feet at R-19, providing a cost-effective and efficient insulation solution for homes. Additionally, it is commonly found in batts and rolls, requiring special handling due to the tiny bits of material that can become airborne during installation.
When working with fiberglass insulation, it is important to take precautions. Installers should wear gloves, a mask, and protective gear to avoid the high likelihood of fibers becoming embedded in the skin or causing irritation to the lungs. Although fiberglass is considered safe, some may experience contact dermatitis or an itchy reaction if proper precautions are not taken. Always handle this material with care to ensure a better, safer experience during installation.
Also Read: What Is Fiberglass Insulation Made Of?
Cellulose Insulation
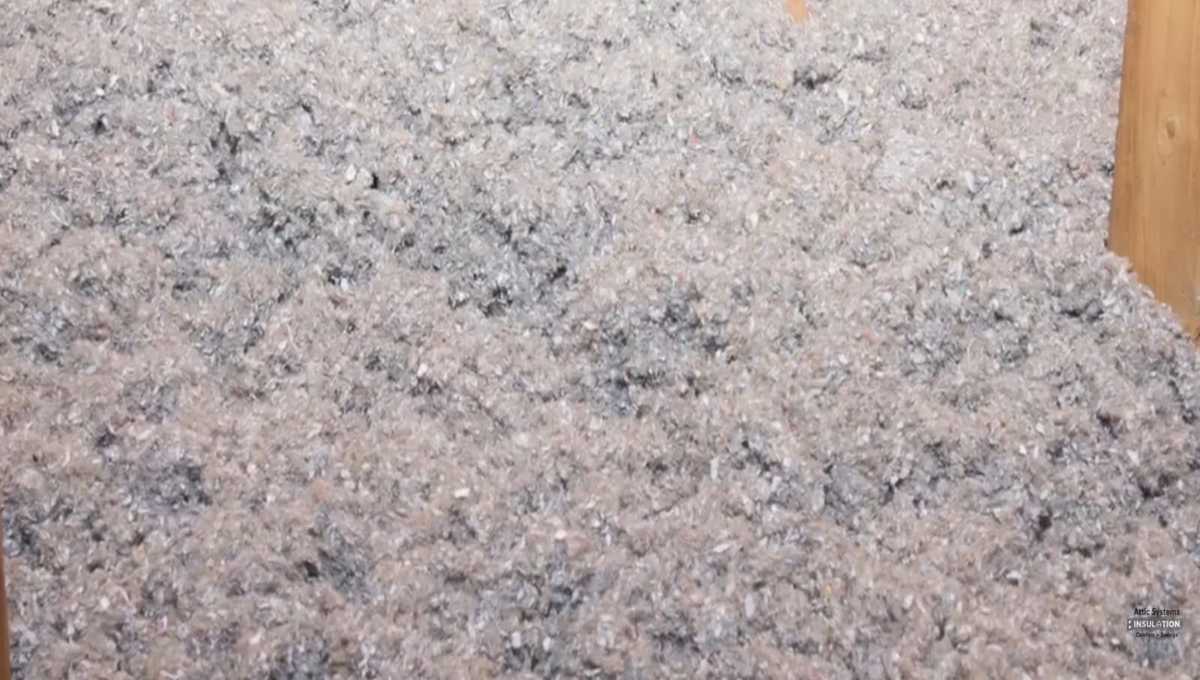
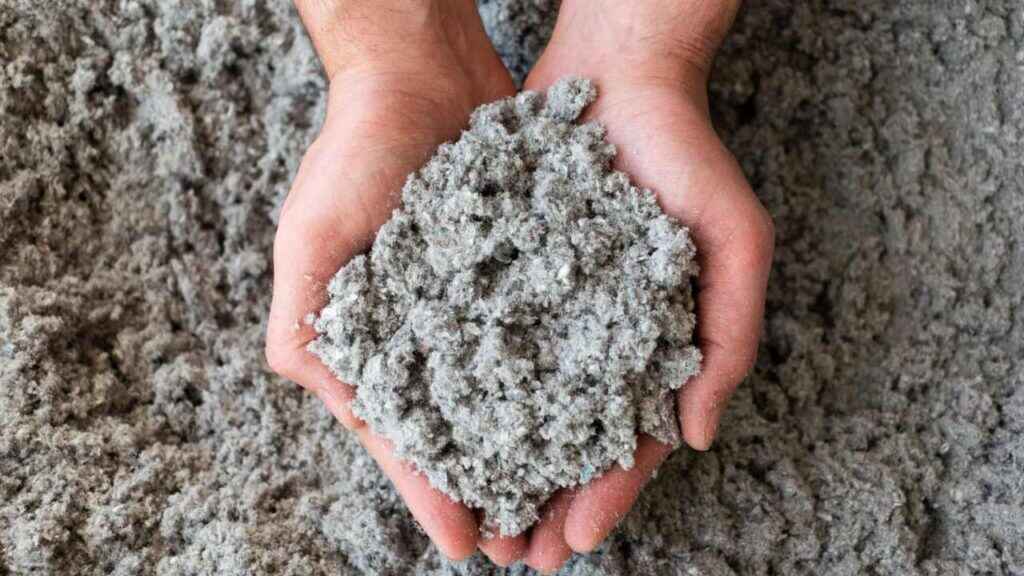
Cellulose insulation is one of the best blow-in insulation products available today. It is made from recycled newspapers, cardboard, and other paper-based materials, making it an eco-minded choice for homeowners. Brands like Nu-Wool use up to 86% recycled content, while other manufacturers follow a general rule of including between 70% and 85% recycled materials. This type of insulation is chemically treated with borate and other additives to resist mold and fire, providing a safe and efficient option for your home.
Cellulose insulation offers an average thermal value of R-3.7 per inch, meaning you’d need just over five inches of cellulose to match the R-19 value of batt insulation. A single bag of cellulose can cover 36.7 square feet at R-19, making it effective for both walls and attics. However, it does have a downside: when exposed to wet conditions, like a leaky roof or pipe, it may lose fluffiness, become soggy, and compacted, which reduces its overall R-value.
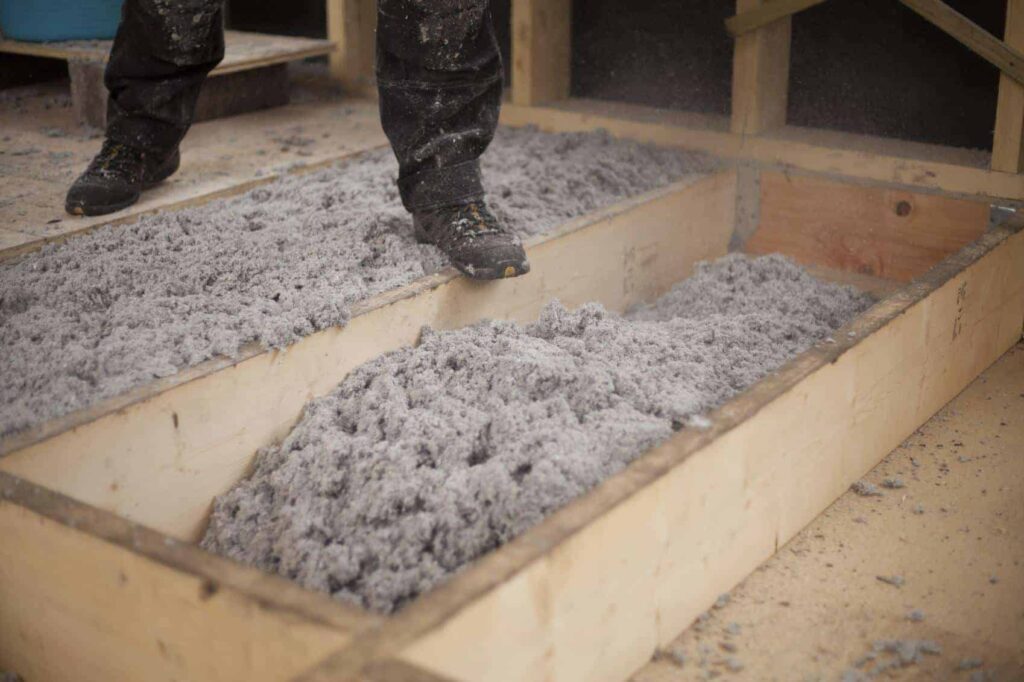
While cellulose insulation is safe to touch with bare hands and doesn’t pose a contact dermatitis risk, it can be dusty and may irritate those with sensitivities. It is important to ensure proper installation and maintenance to avoid potential issues over time. For homeowners seeking an affordable, recyclable, and effective option, cellulose remains one of the most common types of blown-in insulation in the market today.
Also Read: Pros and Cons of Cellulose Insulation: Is It Worth It?
Efficient Coverage with Blown-In Insulation
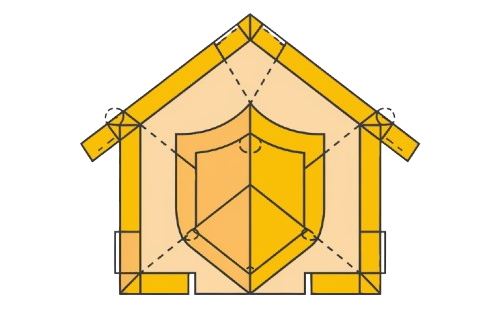
Blown-in insulation is designed to fill between existing wall studs and ceiling joists both quickly and easily. Unlike batt insulation, which involves thick strips of spun fiberglass or a paper-based product that needs to be cut to fit during new construction, blown-in insulation can be added to attics and walls without hassle. This eliminates the need to tear down drywall, a messy, expensive, and time-consuming process that is often not feasible for most existing homes.
This type of insulation not only seals small gaps and spaces but also settles into sneaky spots where cold air might otherwise come in, creating a seamless insulating blanket. It also helps to reduce sound transfer between the outdoors and indoors, softening unwanted street noise for a quieter and more energy-efficient home. This flexibility and effectiveness make it a popular choice for enhancing insulation values without significant disruption.
Availability of Blown-In Insulation
The availability of blown-in insulation materials like cellulose, fiberglass, and rock wool is widespread, with most lumberyards and home improvement centers stocking readily available options. For less common materials, like rock wool, you may need to check the availability in advance or place a specialty order, ensuring you get the right insulation for your project.
Can I Do Blown-In Insulation Myself?
Attics vs. Walls: Where DIY Works Best
Installing blown-in insulation in the attic is a manageable DIY task, but walls are best left to a pro. Blowing insulation into walls requires drilling into stud spaces, which might contain electrical wiring or pipes, making it a more complex job. However, insulating the attic doesn’t require any special skills, though you will need to crouch under low rafters and ensure the insulation is distributed evenly. Always follow the instructions on the bag and blower to complete the project safely and successfully.
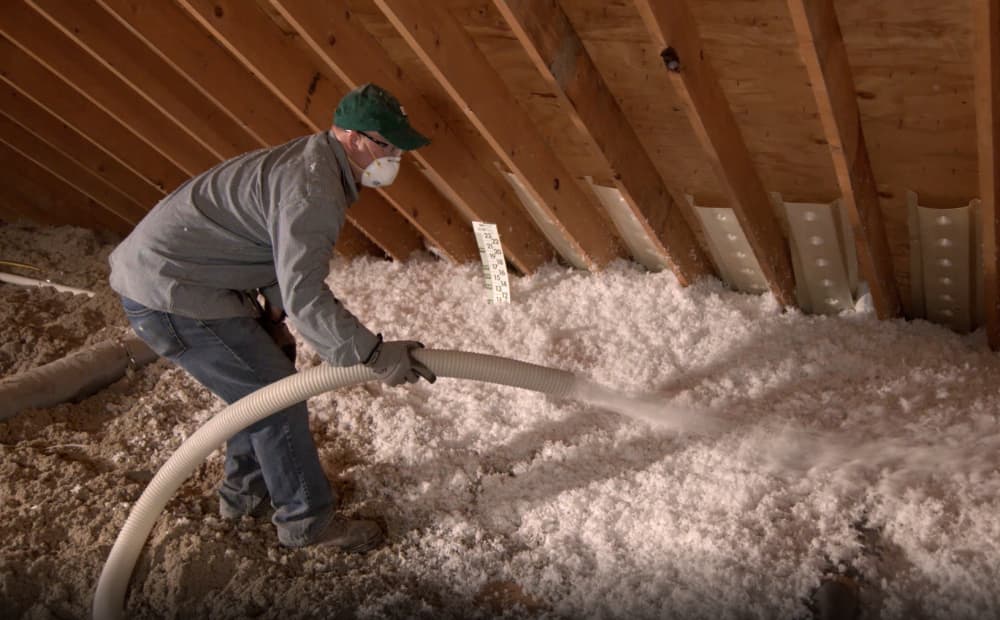
Get a Helper for Smooth Progress
To make the process easier, recruit a helper. One person can load the bags into the blower, which stays on the floor, while the other distributes the insulation using a long hose. This teamwork not only saves time but also ensures that the insulation is applied evenly without interruptions.
Wear Protective Gear
Before starting, don protective gear such as a dust mask, eyewear, gloves, and old clothing to protect against the messy process of insulation. These measures prevent dust and fibers from irritating your skin or lungs and make the experience safer and more comfortable.
This approach ensures that your DIY attic project is efficient and safe, while wall insulation is best handled by professionals for precision and safety.
Never Stand on Joists
When working in the attic, never stand on joists. If you lose balance, your foot will go right through the drywall ceiling below, causing damage and risking injury. To avoid this, position two-by-three-foot plywood across the joists to create a stable standing area. As you work, stand on one piece of plywood and reposition the other as needed. This method ensures a safe workspace while preventing unnecessary repairs to your home.
Box-Off Electrical Boxes and Recessed Can Lights
Always box-off electrical boxes and recessed can lights to keep the insulation away from areas where heat is generated. If insulation builds up, it can cause the light bulb to burn out prematurely or, in some cases, present a slight fire risk. While fiberglass insulation will melt if it gets too hot, cellulose insulation may ignite if exposed to older, very hot recessed lights. Use scrap plywood or wallboard to build a box around each light, leaving at least three inches of space between the light and the box. This step not only prevents hazards but also ensures your attic is safe for future repairs without requiring an electrician to dig through the insulation.
Use Battery-Operated Lights
Working in the dark corners of an attic can be challenging, so bring battery-operated lights like LED headlamps or a portable work light. These tools are great for directing bright light into hard-to-see areas, making it easier to focus on what you’re doing without straining your eyes. Proper lighting is essential for ensuring precision and avoiding mistakes during the insulation process.
Longevity of Blown-In Insulation
Properly installed blown-in insulation can last a long time, but its lifespan varies by material. As a long-term solution for homes, it can last anywhere from 20 years to a house’s lifetime, depending on the material and ideal conditions such as professional installation, minimal settling, and no water damage. Under these conditions, the insulation will maintain its thermal resistance for decades without needing frequent replacement.
Lifespan of Different Insulation Materials
Fiberglass insulation, for instance, is known to commonly last around 80 to 100 years, but it’s wise to check for signs of damage about 15 years after installation. Rock wool insulation is particularly moisture-resistant and the least likely to require replacement, making it an excellent choice for homes with a lifespan of up to 100 years. On the other hand, cellulose insulation is an eco-friendly option, lasting around 20 to 30 years due to its recycled makeup and low moisture resistance. Homeowners using cellulose should start checking their attic for noticeable degradation at around 15 years to maintain effectiveness.
By choosing the right material and ensuring proper installation, homeowners can enjoy the benefits of blown-in insulation for decades with minimal maintenance.
Removing Blown-In Insulation
You or a pro can remove blown-in insulation from the attic by vacuuming it out. This task is feasible as a DIY project if you have the right tools and protective equipment, but contractors typically use large industrial vacuums for more efficient removal. If you don’t have access to this equipment, a high-capacity wet/dry shop vacuum or HEPA vacuum can also be used, though you’ll need to bag the contents frequently until the trusses are clear. To make the job easier, you can rent professional equipment or hire a contractor, which is often necessary when removing insulation from walls.
Safety First
Before starting, protect yourself by wearing long sleeves, pants, gloves, and a respirator to avoid skin and lung damage. Use a headlamp or work light to ensure you can see what you’re doing, especially in dark attic corners. Working with a partner is also recommended, as one person can assist while the other focuses on removing the insulation safely and thoroughly.
Proper Disposal
Once the insulation has been extracted, it’s important to contact your local waste management authority for recommendations and instructions on how to properly dispose of your specific type of insulation. Following these guidelines ensures that the process is both safe and environmentally responsible.
Blown-in Insulation Costs
Comparing Costs of Blown-In Insulation for Attics and Walls
Blown-in insulation costs are generally higher for attics than for walls, mainly due to the larger surface area and higher R-values required for attics. While walls typically need an R-value of R-13 to R-23, attics require R-30 to R-60, which increases the amount of insulation needed. The main cost depends on the material chosen. For example, fiberglass is the most affordable option, costing between $0.50 and $1.10 per square foot, followed by rock wool at $1.40 to $2.10, and cellulose at $2.00 to $2.30 per square foot. Labor is also an important factor, with contractors typically charging between $40 and $70 per hour.
For DIYers, while labor costs can be avoided, the DIY approach still involves expenses such as blowing machine rentals, which typically range from $100 to $200 per day. Despite the additional costs, insulating an attic often proves to be more expensive than walls due to the higher thermal resistance requirements and the effort involved in covering such a large surface area. Understanding these factors can help homeowners plan their insulation projects efficiently.
Challenges of Blown-In Wall Insulation
Blown-in wall insulation has some disadvantages when it comes to coverage and aesthetics. To install insulation in existing walls, holes are drilled at the top of each stud space, usually on the exterior, and the material is blown in using a long, flexible hose. These holes are then sealed with plugs that are closely matched to the siding color, but for brick or stucco, the plugs are often noticeable, which may affect the overall appearance.
Another challenge arises when there is an obstruction in the wall space, such as a drainpipe, outlet box, or an unseen barrier like a cross-board added for stability. These obstacles can prevent the insulation from filling the entire space, leaving voids with no coverage. Over time, the insulation may also settle downward by a few inches, reducing the overall thermal resistance (R-value) and leaving a small section uninsulated at the top. While blowing additional insulation can fix this, many homeowners forego the effort due to the small area affected.
These issues highlight why it’s important to carefully consider the limitations of blown-in wall insulation, especially for homes with structural or aesthetic concerns.
Final Thoughts
Blown-in insulation is a catch-all term that includes cellulose and fiberglass, both made from different materials. Fiberglass insulation is composed of fine glass fibers, plastic, and a few chemical additives, while cellulose insulation is primarily made from recycled paper. The formulas and percentage of materials can vary by brand, but all brands undergo testing to ensure they are safe for your home.
Although neither fiberglass nor cellulose materials pose a danger to your family, it’s essential to interact with them safely by wearing personal protective equipment (PPE) like gloves, masks, and goggles. This ensures you can install or maintain these products without risk while enjoying the benefits of efficient insulation.
FAQ
What Are the Ingredients in Blown-In Insulation?
- Cellulose Fibers
- Recycled Newspaper
- Cardboard
- Loose Fiberglass Fibers
- Styrofoam Pellets
- Natural Wool
- Cotton
- Denim
- Rock Wool
- Mineral Wool
- Spray Foam (Icynene)
- Aerogel
What Is the Problem with Cellulose Insulation?
Cellulose insulation can be heavy and may compact underlying materials over time. It absorbs moisture during rains or in areas with high humidity, which causes it to degrade over time and eventually need to be replaced. Additionally, it can promote the growth of mold and mildew, especially in attics, leading to potential issues with air quality and structural damage.
What Is the Best Material for Blown-In Insulation?
Fiberglass insulation is one of the most thoroughly tested building materials. It can be installed in the form of batts or blown-in insulation, making it a reliable and versatile choice for many projects.
Is Blown-In Insulation Made of Fiberglass?
Yes, blown-in fiberglass insulation is a common choice and is considered one of the most budget-friendly options. The price per square foot ranges from $2.50 to $5.00 for raw materials, though the cost may vary depending on the necessary R-value for your project.